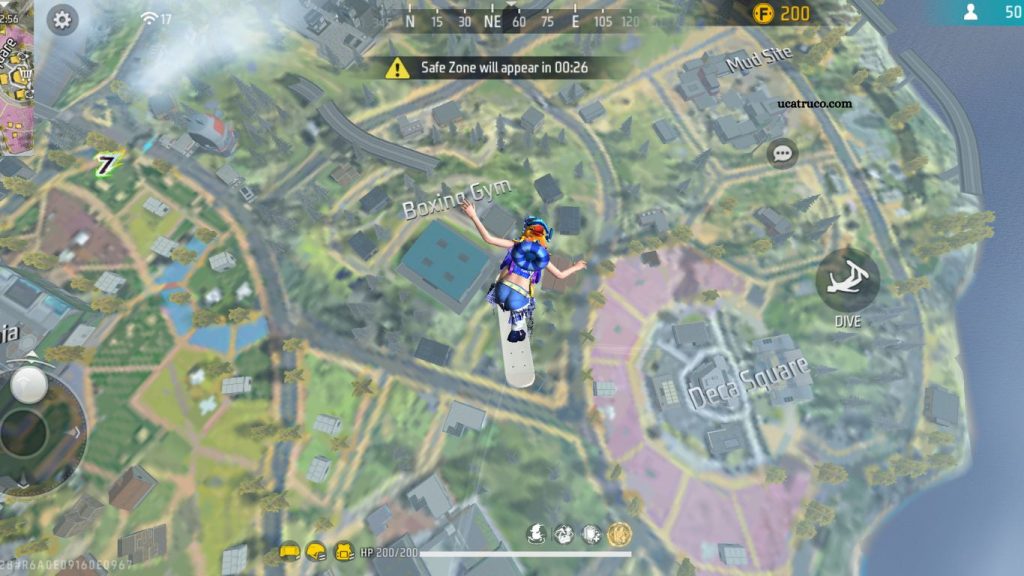
Free Fire, one of the most popular battle royale games worldwide, offers a thrilling experience where every match is a test of skill, strategy, and survival instincts. To dominate in Free Fire, understanding the map, key battle locations, and employing the right tactics is essential. This guide explores everything from landing spots to combat strategies, helping both beginners and veterans elevate their gameplay.
ree Fire maps are dynamic battle arenas designed to test every aspect of a player’s combat and survival skills. Maps like Bermuda, Purgatory, and Kalahari each present unique environments, challenges, and loot distributions. Understanding these maps is critical to plan your moves, predict enemy behavior, and control high-value areas.
Read More: FF Account Check: How to Verify and Secure Your Free Fire ID
Why map knowledge matters:
- Reduces early-game deaths by landing in safer zones
- Helps locate rare weapons and loot quickly
- Provides advantages in strategic positioning and rotation
- Improves awareness of enemy movement patterns
Understanding Map Mechanics
Each Free Fire map has specific features that influence gameplay. These include:
- Terrain Types: Urban areas, forests, hills, and open plains.
- Loot Density: Certain locations have higher weapon, armor, and medical supplies.
- Choke Points: Bridges, tunnels, and narrow pathways often see heavy combat.
- Safe Zone Dynamics: Circle movement requires constant adaptation to terrain.
Key Tip: Familiarity with the map allows faster decision-making under pressure. Always memorize loot spots and escape routes.
Best Landing Spots
Choosing the right landing spot can define your match. Below are popular and strategic options:
Bermuda Map
- Peak: High loot concentration, intense early fights.
- Bimasakti Strip: Moderate loot, ideal for safe buildup.
- Mill: Great for weapon collection but risky due to frequent encounters.
Purgatory Map
- Factory: Excellent loot but high enemy activity.
- Center: Provides central access to rotate quickly.
- Prison: Strategic for long-range fights and ambushes.
Kalahari Map
- Desert Town: High loot potential, moderate risk.
- Sand Pit: Offers tactical advantages with elevation.
- Power Plant: Good for early gear and controlling nearby zones.
Landing Tip: Always check the flight path and adapt your landing strategy to avoid overcrowded areas unless you’re confident in early combat skills.
High-Value Loot Areas
Identifying loot-rich zones ensures faster gear acquisition. Prioritize areas with:
- High weapon spawn rates
- Armor and health kits
- Grenades and tactical items
- Vehicles for quick rotations
Loot Strategy: Start in moderately populated zones to secure weapons quickly, then rotate to high-risk, high-reward areas.
Strategic Battle Locations
Some areas naturally become hotspots for encounters. Knowing these zones helps you plan ambushes or avoid unnecessary fights.
- Bridges: Perfect for traps and long-range fights.
- Open Fields: Risky; only cross with smokes or cover.
- Buildings: Use upper floors for height advantage and cover.
Combat Tip: Positioning is more important than firepower. Always choose high ground or protected spots before engaging.
Map-Specific Tips and Tricks
Bermuda
- Use zip lines for quick rotations.
- Peak is ideal for aggressive playstyles; avoid early camping.
Purgatory
- Rotate via tunnels to avoid exposure.
- Control the central area for tactical dominance.
Kalahari
- Desert towns provide long-range advantage.
- Sand Pit allows ambush strategies with sniper rifles.
Combat Strategies by Location
- Urban Areas: Close-quarter combat; prioritize SMGs and shotguns.
- Open Terrains: Snipers and assault rifles are key; always use cover.
- Highlands and Hills: Control the high ground; maintain visibility of approaching enemies.
Pro Tip: Rotate your weapons and tactics based on your environment. Adaptability wins games.
Vehicle and Movement Tips
- Vehicles are essential for rotations and escaping the shrinking safe zone.
- Avoid driving in open areas without cover; they make you an easy target.
- Use vehicles to block entrances or create barriers in strategic fights.
Endgame Strategies
The final circles demand tactical awareness and precision:
- Control high ground for vision and advantage.
- Use smoke grenades to rotate safely or revive teammates.
- Focus on positioning over aggressive kills unless necessary.
Common Mistakes and How to Avoid Them
- Overcrowding popular zones: Leads to early elimination.
- Ignoring loot quality: Subpar gear reduces combat efficiency.
- Poor rotation decisions: Exposing yourself in open terrain can be fatal.
Solution: Plan your path, adapt to the situation, and always keep an exit strategy.
Frequently Asked Questions
Are there hidden loot spots in Free Fire maps?
Yes, minor buildings, rooftops, and warehouses often have rare weapons, medkits, or grenades. Exploring these areas gives you an advantage over opponents who rush common loot zones.
What is the best approach for aggressive players?
Land in high-loot hotspots, prioritize fast weapon collection, and push opponents quickly. Always have an escape plan and maintain mobility to survive multiple engagements.
How can I use vehicles strategically?
Vehicles aid in rotations, escaping the shrinking safe zone, and blocking paths. They can also be used as temporary cover or bait. Avoid being an easy target in open areas by combining vehicles with smoke grenades and cover.
Which areas are best for sniping?
High ground locations like hills, towers, and certain buildings offer excellent sightlines. Ensure you have cover and an escape plan if enemies spot you.
How do I manage loot effectively?
Prioritize primary weapons first, then secondary weapons, grenades, and armor. Always keep medkits and shields accessible, and avoid carrying unnecessary items that slow your inventory management.
Is it better to play solo or in a squad?
Squads offer safety and shared resources, making survival easier. Solo play enhances skill development but requires sharper awareness and faster decision-making.
Conclusion
Mastering Free Fire maps requires a mix of knowledge, strategy, and quick thinking. By understanding landing spots, high-value loot areas, battle locations, and tactical strategies, you can improve your survival rate and dominate matches consistently. Map awareness combined with adaptability is the key to becoming a Free Fire champion.

